Fix an Image Dimensions Error for Upload
The form wants an exact shape and yours does not match. Messages like "dimensions are incorrect", "image must be 200 x 230 pixels", or "photo must be square" are about the width and height of the image in pixels, not how heavy the file is. A photo from a phone is a completely different shape from a passport box, so it fails this check before the size is even considered. Resizing it to the exact pixels the form asks for clears the error.
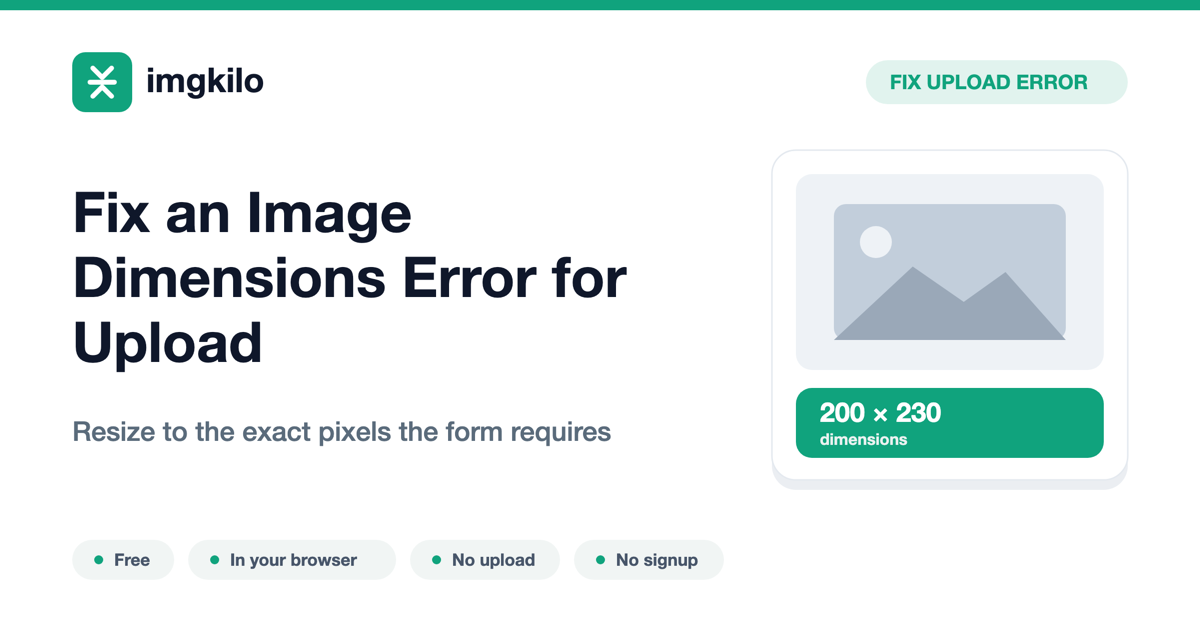
Drop images here or click to upload
PNG, JPG, WebP, GIF, AVIF, HEIC — up to 50MB each
- Files never leave your device
- Runs in your browser
- Free, no signup
What a dimensions error means
Every digital image has two separate measurements that forms care about. One is the file size in kilobytes, which is about weight on disk. The other is the dimensions in pixels, the width and height of the picture, which is about shape. A dimensions error is purely about the second one. Your photo can be the perfect file size and still be refused because it is the wrong width and height.
Forms that check dimensions usually print the exact numbers they want, such as 200 by 230, 350 by 350, or 600 by 600 pixels. Some state a shape instead, like a square 1:1 photo. A phone photo is typically a tall or wide rectangle at thousands of pixels on each side, which matches none of those, so the check fails.
Pixels are not the same as the printed size in inches or millimetres, and not the same as DPI. A form that says 200 by 230 means 200 pixels wide and 230 pixels tall, full stop. You do not need to worry about inches or DPI unless the form specifically mentions them.
Resize to the exact pixels the form asks for
Read the required width and height from the form, then enter them in the tool above. Add your photo and it is resized to exactly those pixels. Download the result and upload that file. Because the output is the precise size the form wants, the dimensions check passes.
If the shape you need is very different from your photo's shape, crop first so faces are not squashed. A tall passport box from a wide landscape photo will stretch the picture if you resize without cropping. Crop your photo to roughly the right proportion, then resize to the exact pixels, and the result stays natural.
Read moreRead less
After resizing, the file size may have changed too. A smaller pixel size usually means a lighter file, which is fine, but if the form also has a size window you may still need to compress under its cap or pad up to its floor.
Square photos and specific aspect ratios
A square requirement, common for some visa and lottery photos, simply means the width and height are equal. Set both fields to the same number, for example 600 by 600, and you get the 1:1 shape those forms expect. The US DV Lottery is the well-known example that insists on a square photo.
Other forms want a specific rectangle, like 3:4 or 4:5. If the form gives you exact pixels, you do not have to calculate the ratio yourself, just enter the pixels. If it only gives a ratio, pick pixels that match it, for example 480 by 640 for a 3:4 shape, then confirm the file size is within any limit.
Whatever the shape, crop to that proportion before you resize so the photo is not distorted. Stretching a face to fill the wrong shape is itself a common reason a photo gets rejected on review, even when the pixel count is technically correct.
Find the dimensions your form requires
The exact pixels are usually in the form instructions, the notification, or a note beside the upload field. Treat any figure you see elsewhere as commonly cited rather than official, because the required size differs between portals and can change between cycles. Common online specs include 200 by 230 for some Indian government photos and 350 by 350 for several exam portals, but confirm yours.
Watch for the difference between a print size and a pixel size. A form might describe the photo in centimetres or as a print standard like 35 by 45 mm, and separately tell you the pixel size to upload. Use the pixel figure for the file. If only a print size is given, the portal usually also states the pixels or the DPI, and the pixel number is the one you set in the tool.
Do not stretch the face, crop and then resize
The single most common mistake when fixing dimensions is forcing a photo into the wrong shape and stretching the face. Resizing changes the pixel count, but it does not change which part of the photo is shown. If your photo is the wrong proportion, resizing alone will squeeze or stretch it.
The correct order is crop first, resize second. Crop your photo to the proportion the form wants, keeping the head centred and the framing the form expects, then resize that crop to the exact pixels. The result has both the right shape and the right pixel count, and the face looks natural.
Dimensions are right but it still fails
If the pixels now match and the form still refuses the photo, the next checks are size and format. The file may be over the KB cap or under the floor, so set it inside the form's window. The file may also be in the wrong format, since a photo named .jpg that is really a PNG or HEIC inside is reported as invalid regardless of its dimensions.
If none of those apply, the rejection may be about appearance: a busy background, a face that is too small or too large within the frame, or poor lighting. A resize tool cannot change any of those, so see which problems are fixable before you keep trying.
Enlarging a small photo, and its limits
If your photo is smaller than the required dimensions, you can resize it up, but be realistic about what that does. Enlarging cannot add detail that the camera never captured, so a very small or low-quality source will look soft when stretched to bigger dimensions. It will pass the pixel check, but it may then be refused on review for being blurry.
When you need larger dimensions, start from the highest-resolution original you have. If the only copy you own is a tiny thumbnail, the better fix is to retake or re-export the photo at full size rather than enlarge a poor source. Everything here runs in your browser, so you can try a resize privately and judge the result before you commit to uploading it.
Frequently asked questions
Fix by the exact error
Most rejections are mechanical, the file is too big, too small, the wrong pixels, or the wrong type. Pick the message your form showed.
Rejected for how the photo looks, not the file?
Blur, lighting, head size, or a busy background cannot be fixed by resizing or compressing. See what is and is not fixable.