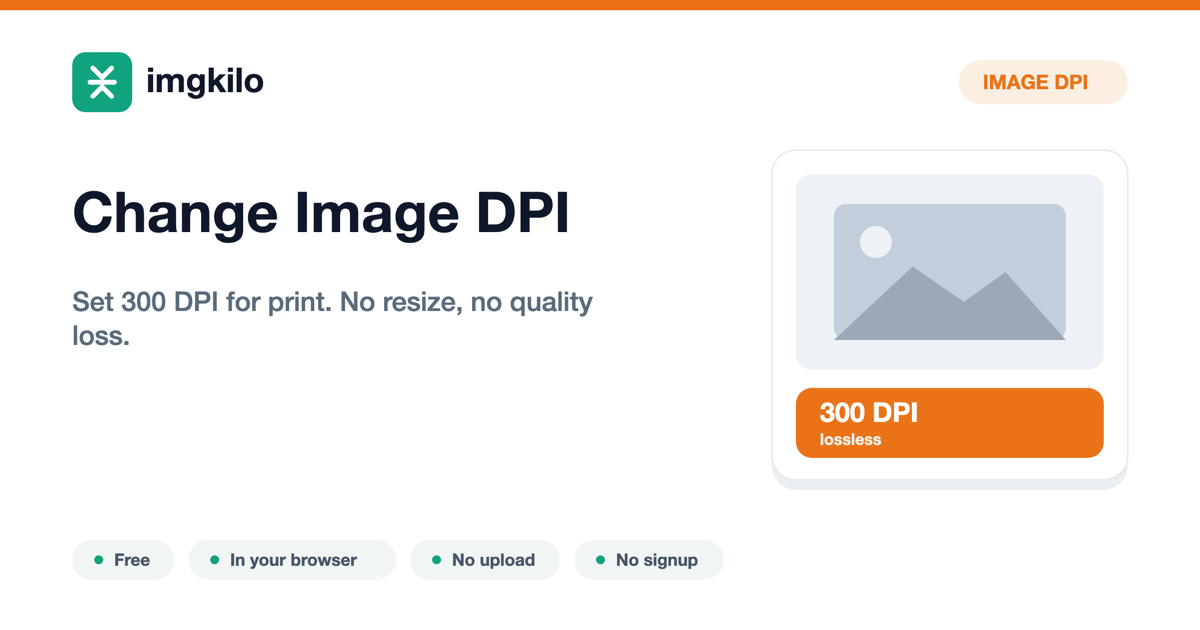
Image DPI Tool
Change image DPI online, free
A print shop or a form says it needs 300 DPI, and you just need the file tagged correctly. This sets the DPI on your JPG or PNG right in the browser. To be clear, DPI is a print instruction, not a quality setting, so this changes how large the pixels print, not the pixels themselves, and there is zero quality loss.
Drop images here or click to upload
JPG and PNG — up to 50MB each
Sets the print resolution tag only. Pixels are not resized, and the image is not re-encoded, so there is no quality loss. JPG and PNG only.
- Files never leave your device
- Runs in your browser
- Free, no signup
How it works
- 1
Drop a JPG or PNG
Drop a single file or up to 100 at once. JPG stores DPI in its JFIF density fields, PNG in a pHYs chunk, both of which this tool writes.
- 2
Pick the DPI
Choose 300 for photo prints, 150 for posters, or type any value a print job or form requires. The pixels stay exactly as they are.
- 3
Download the tagged file
The file comes back with the new DPI tag, the same pixels, and the same name. Single files download immediately, batches arrive as a ZIP.
What setting the DPI does and does not do
Lossless, pixels untouched
The DPI tag is patched directly on your original bytes. There is no decode, no resize, and no re-encode, so the image is identical apart from the resolution value. No quality loss.
Built for print requirements
Print shops, photo labs, and some application forms demand a specific DPI, usually 300. This sets exactly that value where print software reads it, so the job is accepted.
Honest about what DPI does
DPI controls print size, not on-screen quality. This tool will not make a low-resolution image print sharp, because that needs more pixels, not a higher DPI tag.
Where this helps
Photo lab and print shop orders
Most labs expect 300 DPI for prints. If your file is tagged at something else, the print can come out the wrong size or get rejected. Setting 300 DPI fixes the tag without altering the photo.
Forms that require a DPI
Some application and document forms specify a DPI alongside pixel and KB limits. This tool sets the required value so the upload meets the spec.
Design imports at the wrong size
Page layout tools place an image at a physical size derived from its DPI. If a photo lands far too large or too small in a layout, correcting its DPI tag brings it in at the intended size.
Fixing a wrong-size print
If a print came out larger or smaller than expected while the pixels were fine, the DPI tag was off. Setting the right DPI makes the same pixels print at the size you wanted.
Tips that help
- 1
Pixels first, DPI second
Decide the print size, make sure the image has enough pixels for it at your DPI (inches times DPI), then set the tag. For 4 by 6 inches at 300 DPI you need 1200 by 1800 pixels.
- 2
300 DPI is the safe print default
Use 300 for photo prints and most print shops, 150 for large posters viewed from a distance. When a job states a number, use that.
- 3
Ignore DPI for screens and the web
On-screen display depends only on pixels, so the DPI tag does not affect a website or social post. For the web, resize or compress instead.
- 4
Need more pixels? Resize, do not just retag
If an image is too small for the print size, raising the DPI tag will not help. You need more pixels, which is a resize job, and even then enlarging cannot invent real detail.
Image DPI explained: what it changes, what it cannot, and how to set it right
DPI is one of the most misunderstood numbers in imaging. People are told a file must be 300 DPI and assume DPI is a quality setting that makes an image better or worse. It is not. DPI is a print instruction, a tag that says how big the pixels you already have should appear on paper. This guide explains what DPI really controls, the simple math that ties pixels to print size, why 72 DPI for the web is a myth, and exactly when changing the DPI tag is the correct fix versus when you actually need to resize. imgkilo sets the tag in your browser, losslessly, with no upload.
DPI is a print instruction, not a quality dial
An image is a grid of pixels. That grid has no inherent physical size, a 1200 by 1800 pixel photo is just 1200 by 1800 pixels until something decides how big to print it. DPI, dots per inch, is that decision. It tells a printer how many of those pixels to pack into each inch of paper.
Because DPI only affects printing, changing it does not alter a single pixel. The same photo at 72 DPI and at 300 DPI looks identical on your screen, because screens render pixels directly and ignore the DPI tag entirely. The difference shows up only on paper.
This is why DPI is not a quality setting. Raising the DPI of a small image does not add detail, and lowering the DPI of a large one does not remove any. It changes the print size, nothing else.
The one formula that ties it together
Print size in inches equals pixel count divided by DPI. That single relationship explains everything DPI does. A 1200 pixel wide image at 300 DPI prints 4 inches wide. The same image at 150 DPI prints 8 inches wide, spreading the same pixels over more paper.
Read moreRead less
Turn it around to plan a print. For a 4 by 6 inch photo at 300 DPI, you need 1200 by 1800 pixels. If your image has fewer pixels than that, tagging it 300 DPI will not help, the printer simply has too few pixels for a crisp 4 by 6, and the result looks soft.
So the honest workflow is pixels first, DPI second. Make sure the image has enough pixels for the print size you want, then set the DPI tag so the print lands at exactly that size. If you are short on pixels, that is a resize question, not a DPI one.
The 72 DPI for web myth
You will still see advice to save web images at 72 DPI. It is a leftover from old monitors and it means nothing today. Screens display images by pixel, so a 1000 pixel wide image is 1000 pixels wide whether it is tagged 72, 96, or 300 DPI.
What matters for the web is the pixel count and the file size, not the DPI tag. If your goal is a faster page or a smaller upload, the lever is compression or fewer pixels, never the DPI value.
Where DPI genuinely matters is print and certain forms that specify it. A photo lab, a print shop, or an application that requires 300 DPI is checking the tag, and that is exactly what this tool sets without disturbing the image.
When to set DPI, and how imgkilo does it
Set the DPI tag when a print job or a form requires a specific value, when a design tool imported your image at the wrong size because of its DPI, or when a print came out the wrong physical size. In each case the pixels are fine and only the tag needs fixing.
imgkilo patches the tag in place. For a JPEG it writes the JFIF density fields, for a PNG it writes a pHYs chunk, both standard places that print software reads. Because it edits those bytes directly on your original file, there is no decode, no re-encode, and no quality loss.
Drop a JPG or PNG, pick a DPI such as 300, and download the tagged file with the same pixels and the same name. Up to 100 files in a batch, all processed in your browser. Nothing is uploaded, so even sensitive documents stay on your device.
Frequently asked questions
Honest answers to what people ask before using this tool.
Further reading
Independent references if you want to go deeper on the formats and tradeoffs.